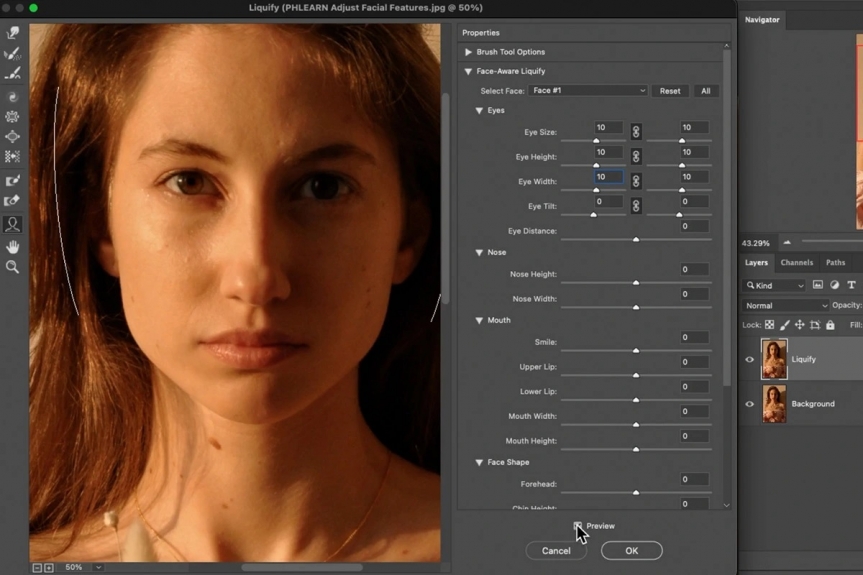
In the current era of selfies, it's often seen as necessary to make changes before posting images to social media. Many apps have automated filters that help create a sense of security and comfort when the images are shared online.
For a natural look in portraits, it is best to keep filters to a minimum and focus on correcting minor imperfections rather than drastically altering the appearance of the subject.
Photoshop is a powerful tool for anyone interested in image editing, allowing users to create stunning images with just a few clicks. But when it comes to creating perfect skin without blemishes or other imperfections, Photoshop has become essential for photographers and designers alike.
If you are aiming for a professional touch, although it will take time, here are the steps to follow.
Soften the Skin
Retouching skin is a common skill for photographers and one of the most important skills for digital designers. Photoshop offers a number of methods to smooth skin without losing the original texture.
Eliminate Imperfections: Pimples, Stains...
It is recommended to duplicate the layer before making changes to the original image.
Use the Spot Healing Brush Tool to make small adjustments to remove grains, blemishes, or other imperfections on the face.
Duplicate the layer one more time for additional edits.
The Patch Tool is available for softening specific areas, for example, dark circles. Select the area you intend to edit, then drag it slightly to acquire pixels from a cleaner area.
It is suggested to reduce the opacity of the layer for a more natural appearance.
Clean Skin

To achieve the best results, select the Filter tab and choose Gaussian Blur with a pixel scale between 2 and 6.
To create a new layer, select the Layer Tab, then select New Layer from the options. A new window will open prompting you to fill in the required details.
Name the layer you are creating. Select Overlay Mode. Check the box for "Fill with Color for Overlay".
To add noise, select the Filter tab, then the Noise option, and make sure to not exceed 2% when adding noise. Enter your parameters accordingly.
In Distribution, select Gaussian and mark the Monochromatic box.
You can combine the two layers, the copy of the original and the noise filter layer, in two different ways.
Select the layers to combine, right-click with your mouse and choose the "Combine Visible" option.
The icon indicated in the image shows how to create a Layer Mask quickly.
To invert the Layer Mask, select it and press CTRL+I. This will make it black.
Select the Brush Tool and choose White in the Color Picker.
Use the brush to blur out the previously created effect, resulting in a less artificial look of the skin.
Decreasing the opacity of the layer often gives faces a more natural look.
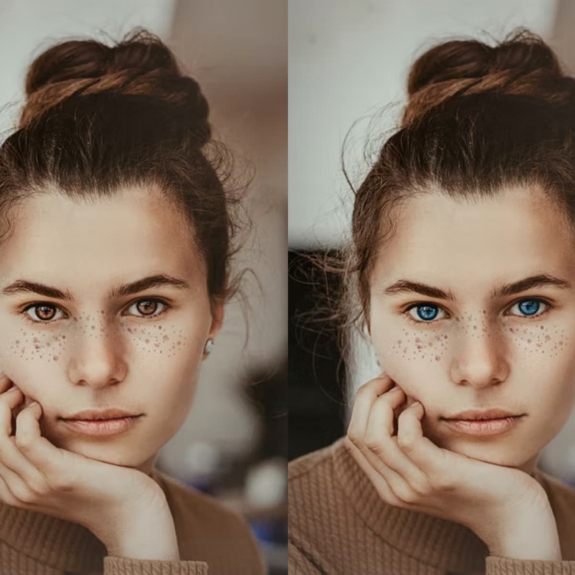
Changing Eye Color

To create a Solid Color Fill Layer, you can do it directly from the icon at the bottom of the Layers tab. The image below shows you how to select the color that you want to paint your eyes with.
The Adjustment Layer can be inverted by selecting the layer and pressing CTRL + I, thereby changing the eye color to black.
Choosing the Overlay mode will retain the texture of your eye.
Apply white paint to the area you want to change the color on the eye.
You can lower the opacity to make the color look more natural.
Makeup: Paint lips
The first steps are the same as those for changing the Eye Color. They are mentioned here again so that you can easily follow the order.
Create a Solid Color Fill Layer.
To achieve a different result from the previous one, choose the Multiply blend mode instead of the Overlay mode.
Apply a white paintbrush over the area of the lips you want to change colors. Take care not to distort them.
Lower the opacity until the color appears natural.
Add Finishing Touches
Now that you have completed all of the necessary fixes, it's time to make some adjustments to complete your perfect skin edit! Start by playing around with brightness levels or applying effects such as Gaussian Blur for added realism before adding a final layer of polish with Saturation Adjustment Layer to increase natural hues within the image.
Final Result
After removing skin blemishes, changing eye color, and applying lipstick we can see a subtle difference between the images.
With these tips in mind, you should now have mastered how to create perfect skin without blemishes using Photoshop!
What do you think? Are you comfortable editing imperfections in one of your photos? If you have a different way to retouch a face, I would be happy to hear it so I can try it out.


